


Game Information
Optus Stadium
| fourth Quarter | |||
|---|---|---|---|
| Time | Team | Play | Score |
| 29:10 |  | L. Schultz Goal | 87 - 56 |
| 26:15 |  | J. Kelly Behind | 81 - 56 |
| 24:30 | | T. Greene Goal | 81 - 55 |
| 22:25 | | T. Greene Goal | 81 - 49 |
| 20:45 | | E. Hughes Behind | 81 - 43 |
| 19:11 | | T. Bruhn Behind | 80 - 43 |
| 15:07 | | Z. Sproule Goal | 80 - 42 |
| 12:26 | | D. Mundy Behind | 80 - 36 |
| 10:41 | | L. Schultz Goal | 79 - 36 |
| 7:55 | | Z. Sproule Goal | 73 - 36 |
| 5:55 | | Rushed | 73 - 30 |
| 3:07 | | M. Taberner Behind | 72 - 30 |
| 1:19 | | C. Serong Behind | 71 - 30 |
| third Quarter | |||
| Time | Team | Play | Score |
| 30:19 | | H. Himmelberg Goal | 70 - 30 |
| 25:40 | | B. Hill Behind | 70 - 24 |
| 23:42 | | M. Frederick Goal | 70 - 23 |
| 20:41 | | L. Schultz Behind | 64 - 23 |
| 19:02 | | T. Greene Behind | 63 - 23 |
| 16:53 | | S. Switkowski Goal | 63 - 22 |
| 15:37 | | A. Brayshaw Behind | 57 - 22 |
| 14:02 | | M. Frederick Behind | 56 - 22 |
| 10:35 | | N. Fyfe Behind | 55 - 22 |
| 8:30 | | T. Greene Behind | 54 - 22 |
| 6:30 | | A. Brayshaw Goal | 54 - 21 |
| 3:43 | | M. Taberner Goal | 48 - 21 |
| 1:36 | | H. Himmelberg Goal | 42 - 21 |
| second Quarter | |||
| Time | Team | Play | Score |
| 24:48 | | S. Switkowski Behind | 42 - 15 |
| 23:15 | | Rushed | 41 - 15 |
| 20:28 | | J. Buckley Behind | 40 - 15 |
| 18:23 | | L. Schultz Behind | 40 - 14 |
| 13:53 | | Rushed | 39 - 14 |
| 10:32 | | J. Kelly Behind | 38 - 14 |
| 10:01 | | M. de Boer Behind | 38 - 13 |
| 8:44 | | S. Switkowski Behind | 38 - 12 |
| 6:19 | | N. Fyfe Goal | 37 - 12 |
| 5:32 | | B. Hill Behind | 31 - 12 |
| 0:54 | | S. Darcy Behind | 31 - 11 |
| first Quarter | |||
| Time | Team | Play | Score |
| 31:43 | | N. Fyfe Behind | 30 - 11 |
| 29:59 | | S. Switkowski Goal | 29 - 11 |
| 27:16 | | T. Greene Behind | 23 - 11 |
| 26:01 | | M. Taberner Behind | 23 - 10 |
| 24:45 | | S. Coniglio Behind | 22 - 10 |
| 23:30 | | M. Taberner Goal | 22 - 9 |
| 20:46 | | L. Schultz Goal | 16 - 9 |
| 19:24 | | M. Frederick Behind | 10 - 9 |
| 18:18 | | A. Cerra Behind | 9 - 9 |
| 17:13 | | Sam J. Reid Behind | 8 - 9 |
| 11:13 | | S. Switkowski Behind | 8 - 8 |
| 8:53 | | C. Ward Behind | 7 - 8 |
| 8:10 | | T. Taranto Behind | 7 - 7 |
| 5:08 | | A. Brayshaw Goal | 7 - 6 |
| 2:30 | | Rushed | 1 - 6 |
| 0:30 | | J. Hopper Goal | 0 - 6 |
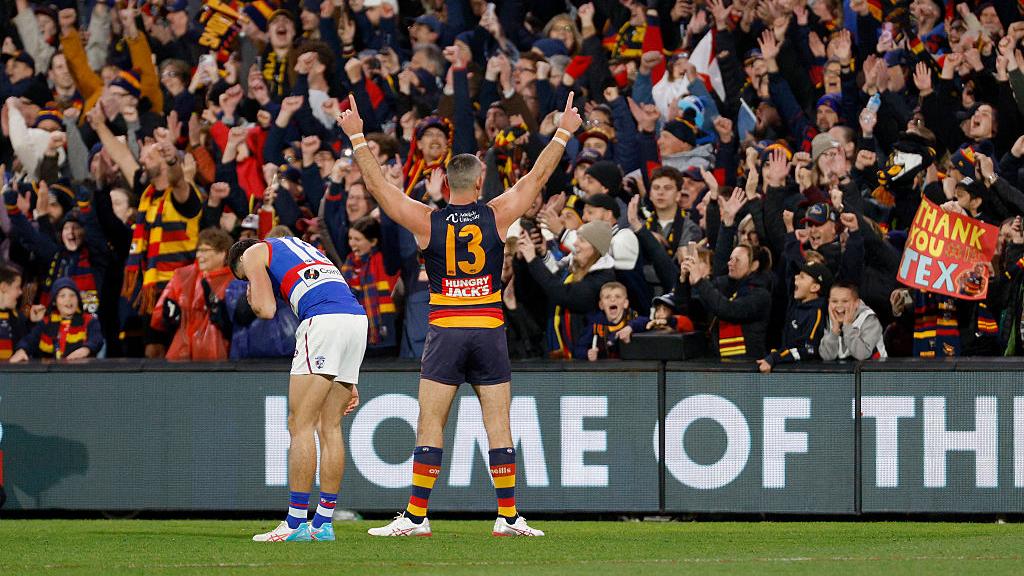
Taylor Walker kicks his final goal in a clutch fourth quarter moment, as the Crows face away fixtures for the remainder of their finals campaign.
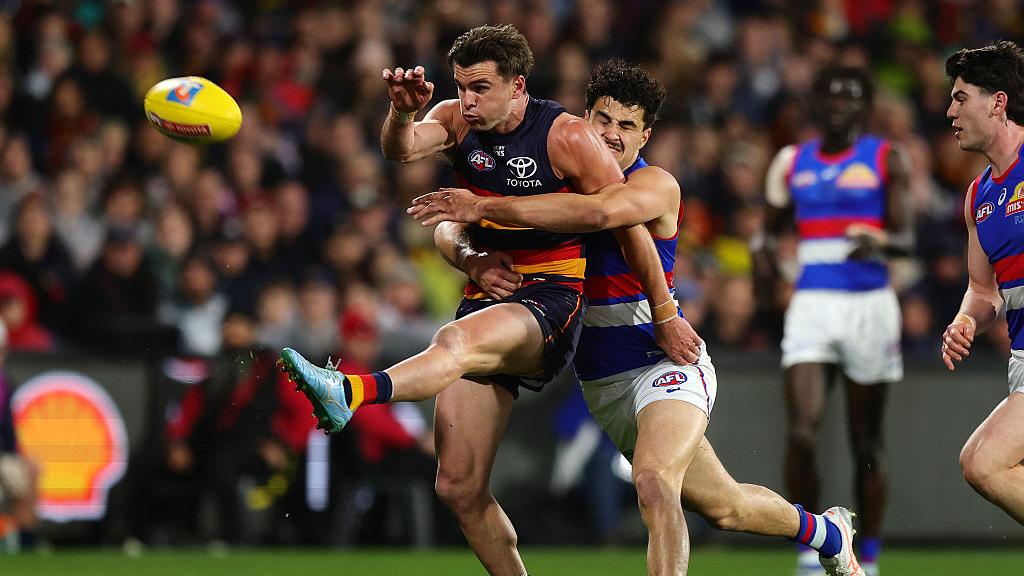
Ben Keays crumbs out of congestion and snaps his second goal of the night, providing Adelaide their largest lead of the game.
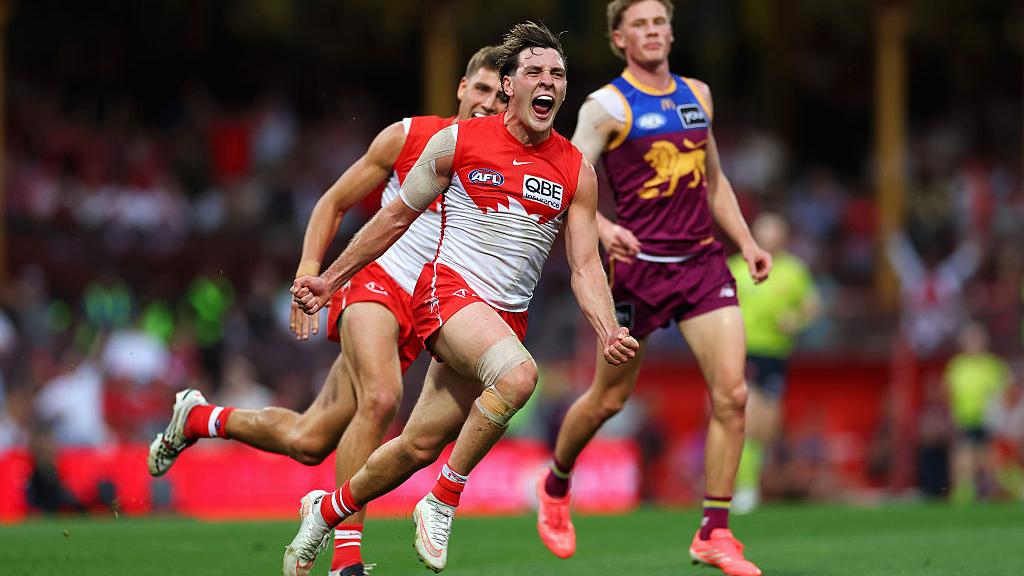
No Isaac Heeney, no Chad Warner, no worries. A relentless Sydney marched into a preliminary final, but write the Lions off at your own peril.
Errol Gulden caps off a dominant third quarter from the Sydney Swans after some individual brilliance from the centre stoppage results in a classic finals goal.
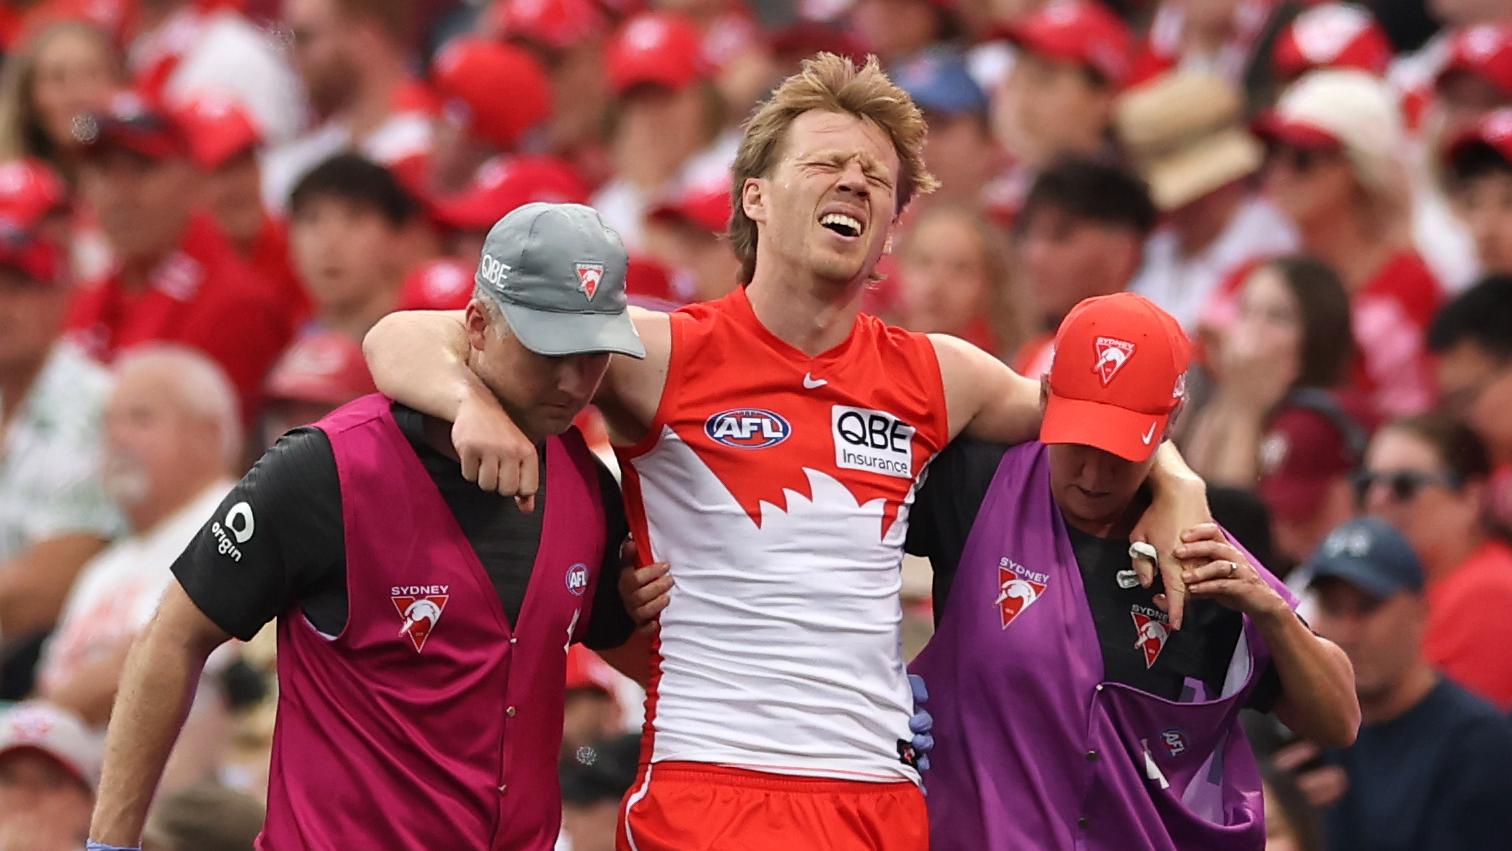
Swans skipper Callum Mills was ruled out of the remainder of the second qualifying final after suffering a horror knee injury late in the first term.
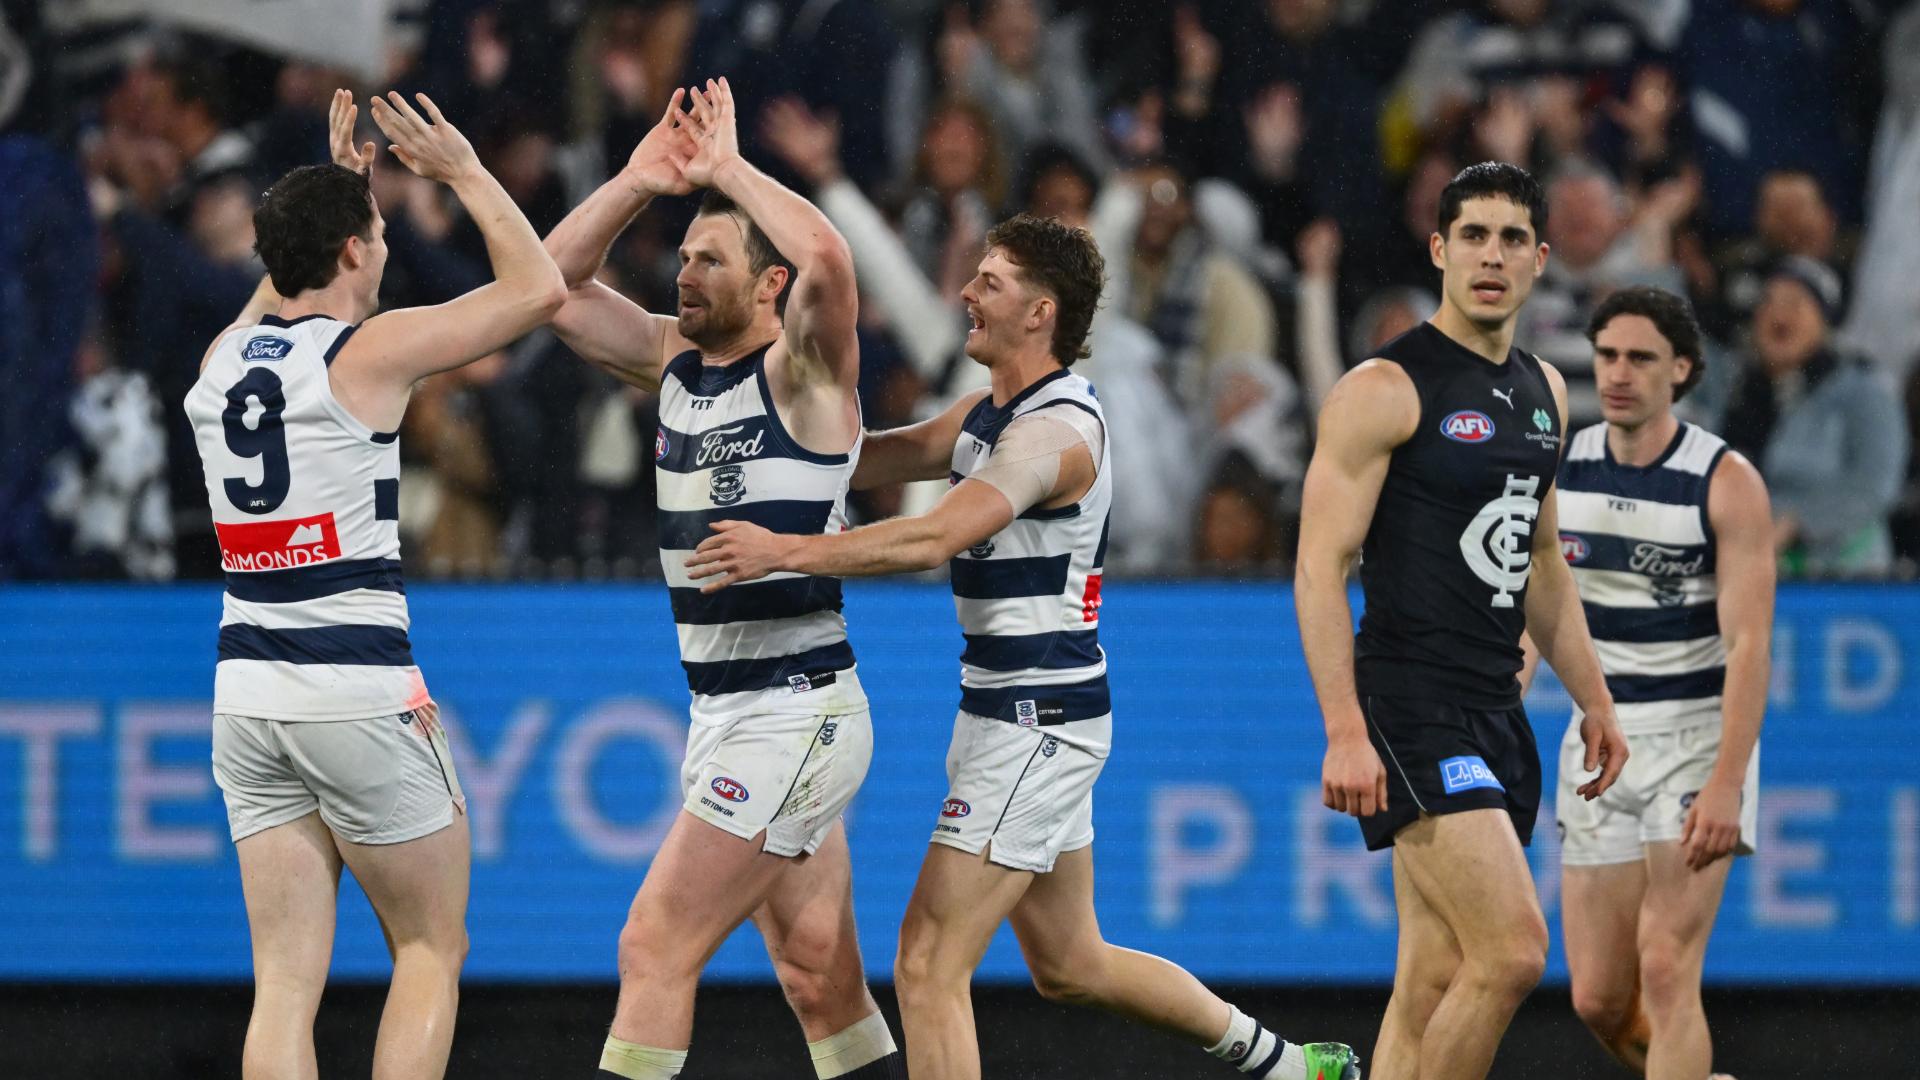
Patrick Dangerfield kicks five goals in a final for the first time of his career as Geelong picks up a 33-point win over Carlton.
| POS | Team | Pts. | % | Form |
|---|---|---|---|---|
| 1 |
 FRE FRE
|
76 | 137.2 | WWLWL |
| 2 |
 SYD SYD
|
72 | 136.1 | WWWWW |
| 3 |
 BL BL
|
64 | 121.7 | WLWWW |
| 4 |
 HAW HAW
|
64 | 120.1 | WWLDW |
| 5 |
 GEEL GEEL
|
60 | 122.3 | WWWWW |
| 6 |
 ADEL ADEL
|
60 | 117.3 | LWWLW |
| 7 |
 MELB MELB
|
60 | 109.6 | LWWWL |
| 8 |
 WB WB
|
54 | 95.4 | WLLDW |
| 9 |
 COLL COLL
|
52 | 102.4 | WLWDL |
| 10 |
 CARL CARL
|
50 | 101.5 | WWWDW |
| 11 |
 STK STK
|
40 | 102.8 | WLLWL |
| 12 |
 GWS GWS
|
40 | 98.9 | LWLWL |
| 13 |
 SUNS SUNS
|
36 | 94.5 | LLWLW |
| 14 |
 NMFC NMFC
|
36 | 88.8 | LLWLL |
| 15 |
 PORT PORT
|
28 | 88.1 | LLLLW |
| 16 |
 WCE WCE
|
16 | 69.2 | LLLLL |
| 17 |
 RICH RICH
|
12 | 62.5 | LWLLL |
| 18 |
 ESS ESS
|
8 | 64.6 | LLLLL |